Update: If you are interested in getting a running start to machine learning and deep learning, I have created a course that I’m offering to my dedicated readers for just $9.99. Practical Deep Learning with Keras and Python .
So you’ve been working on Machine Learning and Deep Learning and have realized that it’s a slow process that requires a lot of compute power. Power that is not very affordable. Fear not! We have a way of using a playground for running our experiments on Google’s GPU machines for free. In this little how-to, I will share a link with you that you can copy to your Google Drive and use it to run your own experiments.
BTW, if you would like to receive updates when I post similar content, please signup below:
Signup for promotions, course coupons and new content notifications through a short form here.
Colaboratory
First, sign in to an account that has access to Google Drive (this would typically be any Google/Gmail account). Then, click on this link over here that has my playground document and follow the instructions below to get your own private copy.
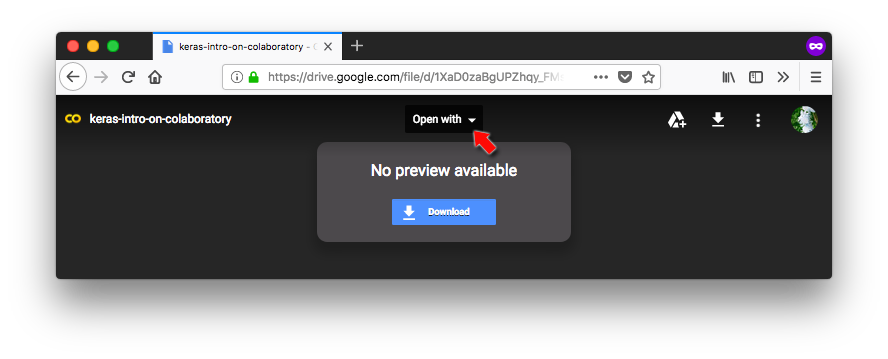
Click on “Open With” because it’s a special document type that cannot be opened with the default applications.
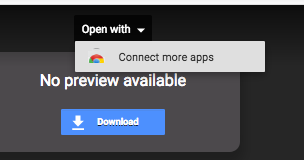
Click on “Connect more apps” and then select the “Colaboratory” app. If you cannot see it, you can search for it in the box to the top-right.
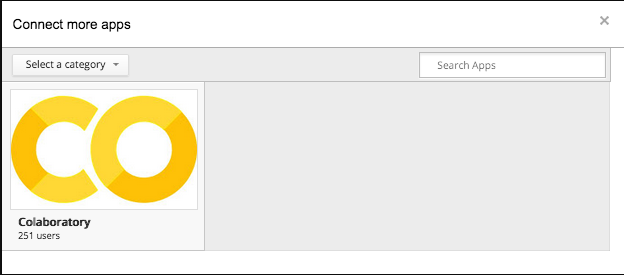
Then click on “Connect” to authorize this app.

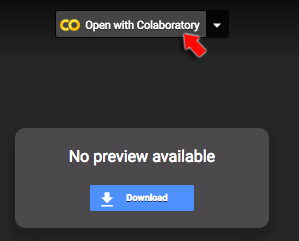
Then, click on “Open with Colaboratory” to open it up.
Once it opens up, first you want to make it executable by opening it up in the “Playground”.
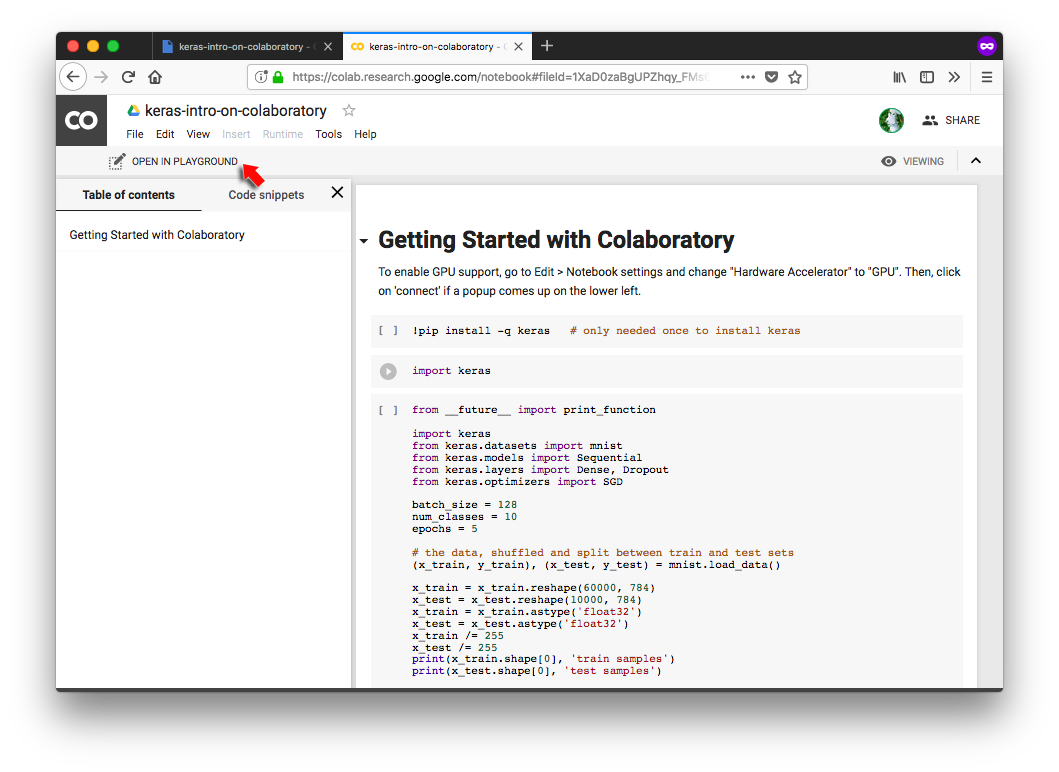
Then, you want to make a copy of your own so that you can work it in peace.

To enable GPU support, go to the “Edit” menu in the docs and click on “Notebook Settings”.
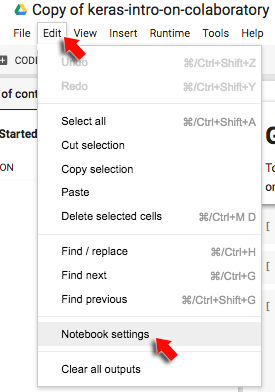
Make sure “GPU” is selected in the hardware accelerator dropdown.

Running Code
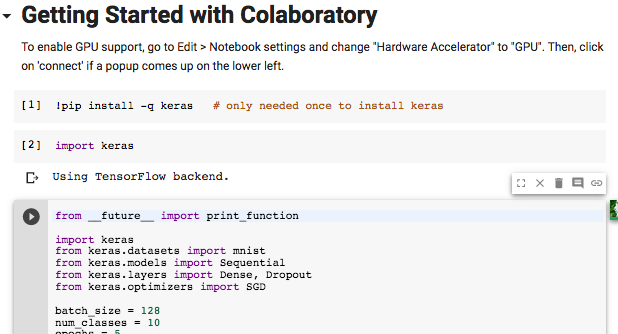
Now you can put your code in the cells just like jupyter notebooks (in fact, that’s what’s powering this thing) and do Shift+Enter to execute it. Tensorflow is installed by default, of course. To install keras, you can issue the command: !pip install -q keras and then import keras to verify that it’s working.
Go over to somekeras example and get some code to test it out.
What about my data?
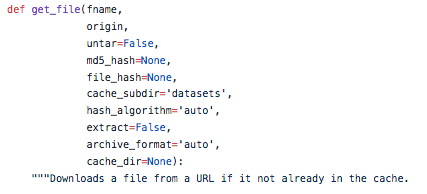
You must be wondering how you can get your data inside this notebook? You can’t see an upload button anywhere. You can follow the detailed instructions here but the easiest way I could find was to upload your files somewhere and then use data_utils from keras.
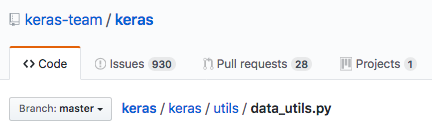
It has a very useful function called get_file (among others) that you can use to download and extract files off of the internet and then use then in your code. Take a look at the MNIST example I linked above for an example.
And there you have it.
As before, if you would like to receive updates when I post similar content, please signup below:
Signup for promotions, course coupons and new content notifications through a short form here.